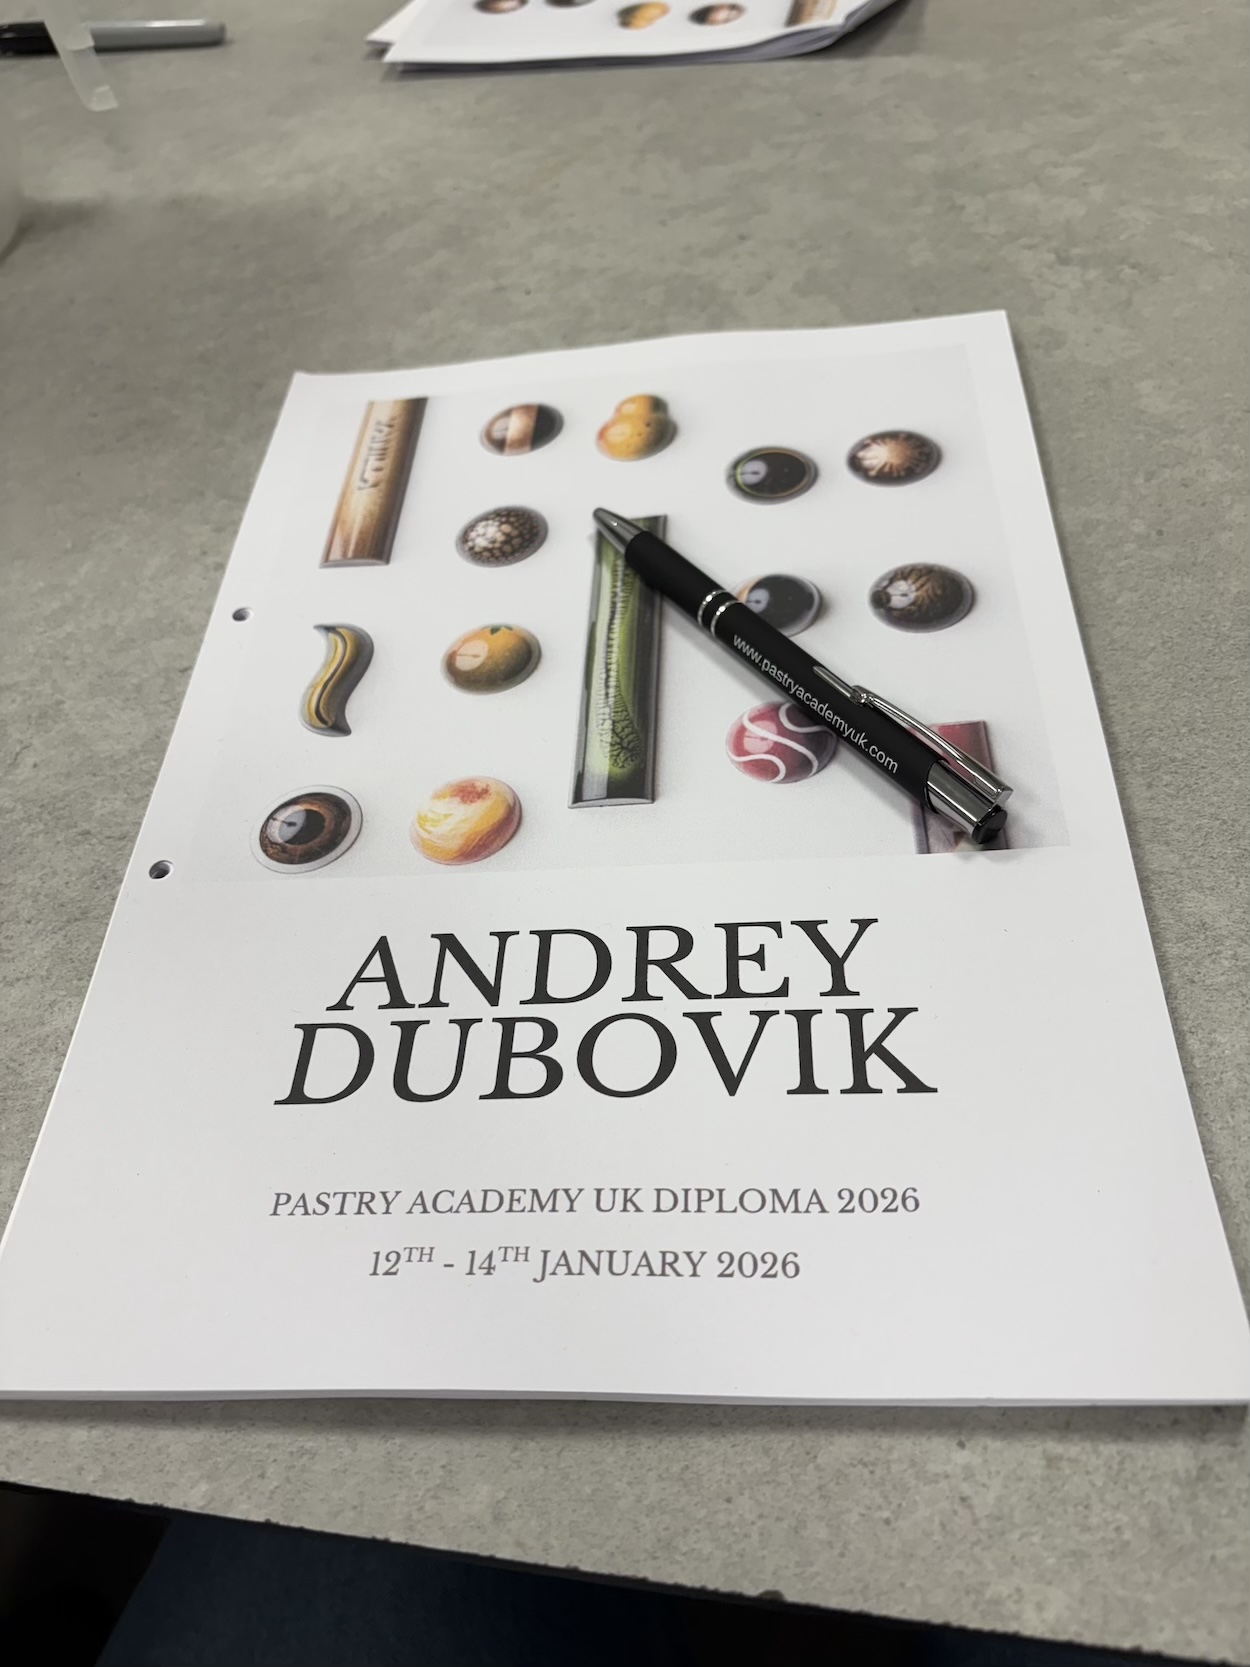
Welcome to week two, starting off with a guest chef Andrey Dubovik. Andrey was nice enough to fly all the way to England to teach us all about chocolate. For the next three days we will be solely focused on creating chocolate bonbons, twenty different designs and 10 different fillings. Today we made 8 of the twenty starting with the designs and ending will filling. We did not cap the chocolate bon bons today but we will continue on tomorrow. Today was a flood of information, not very hands on but super informative and fascinating.
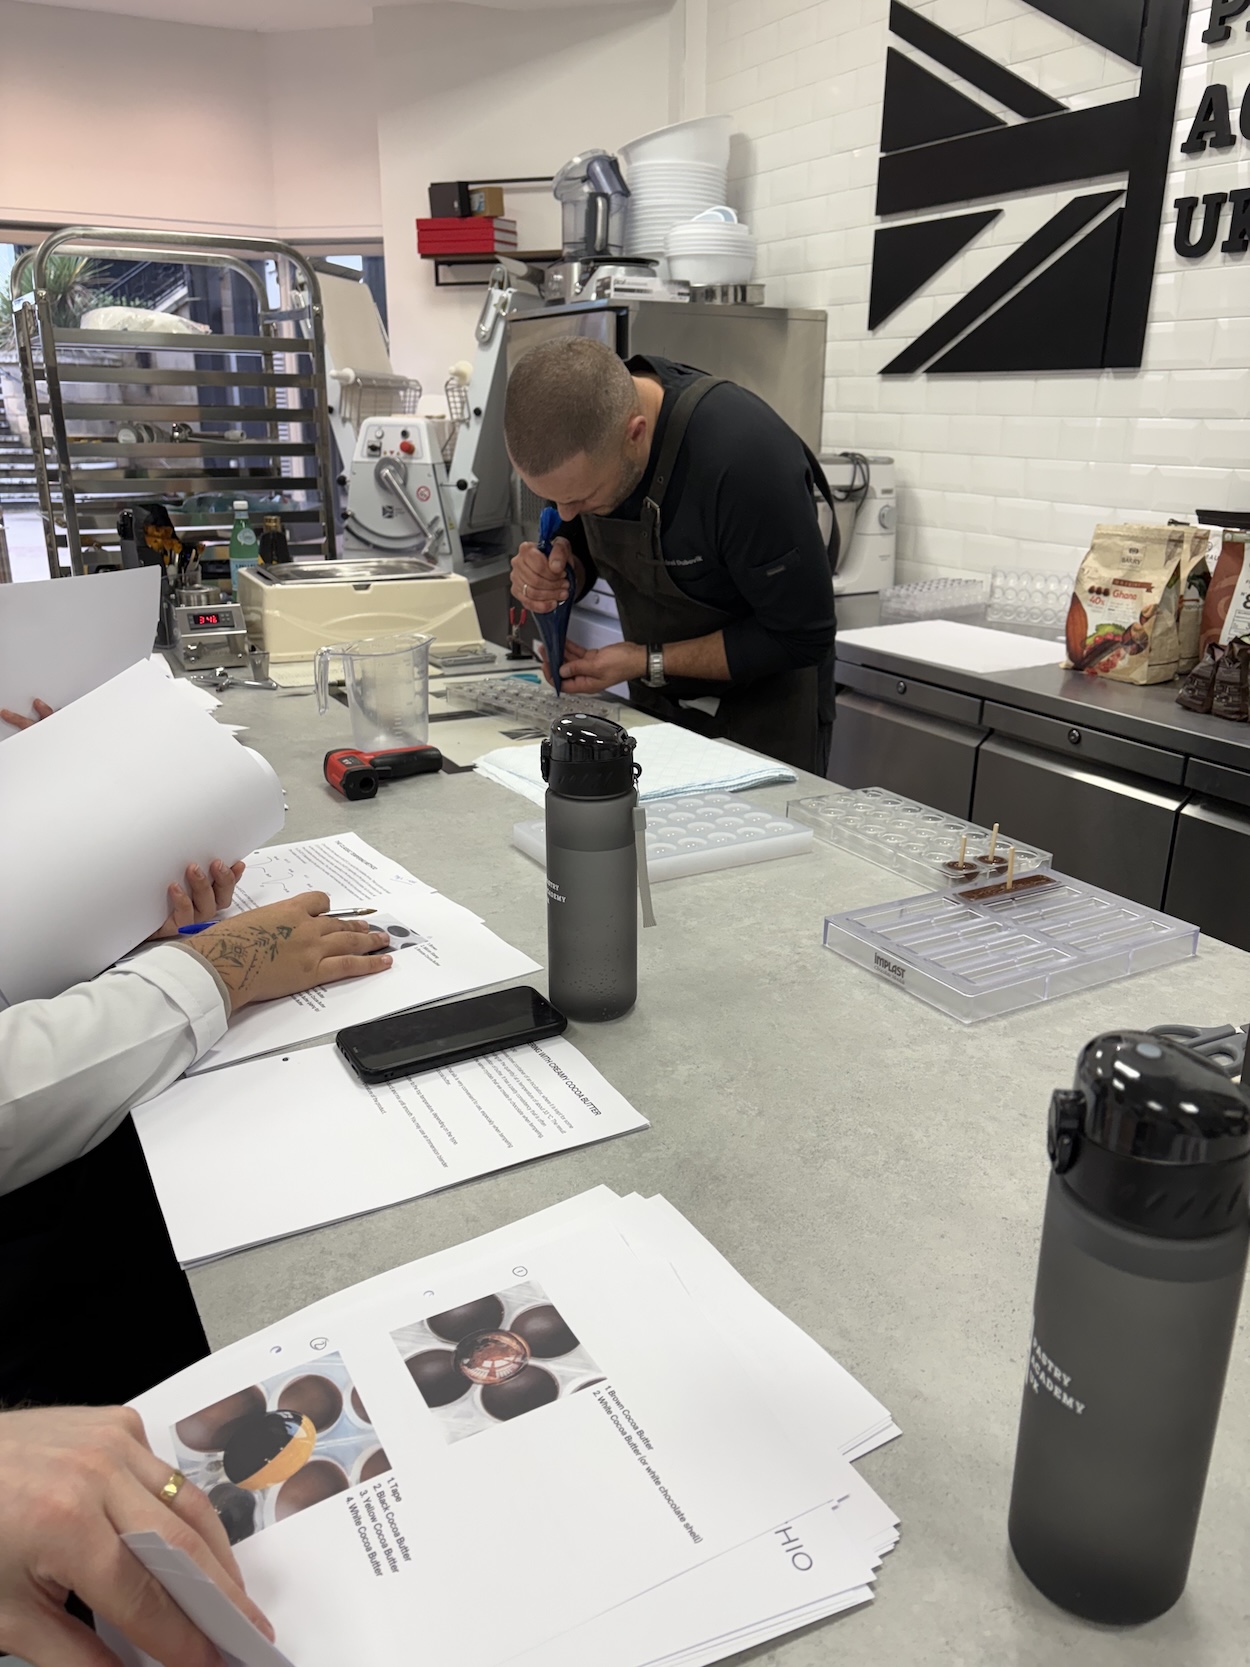

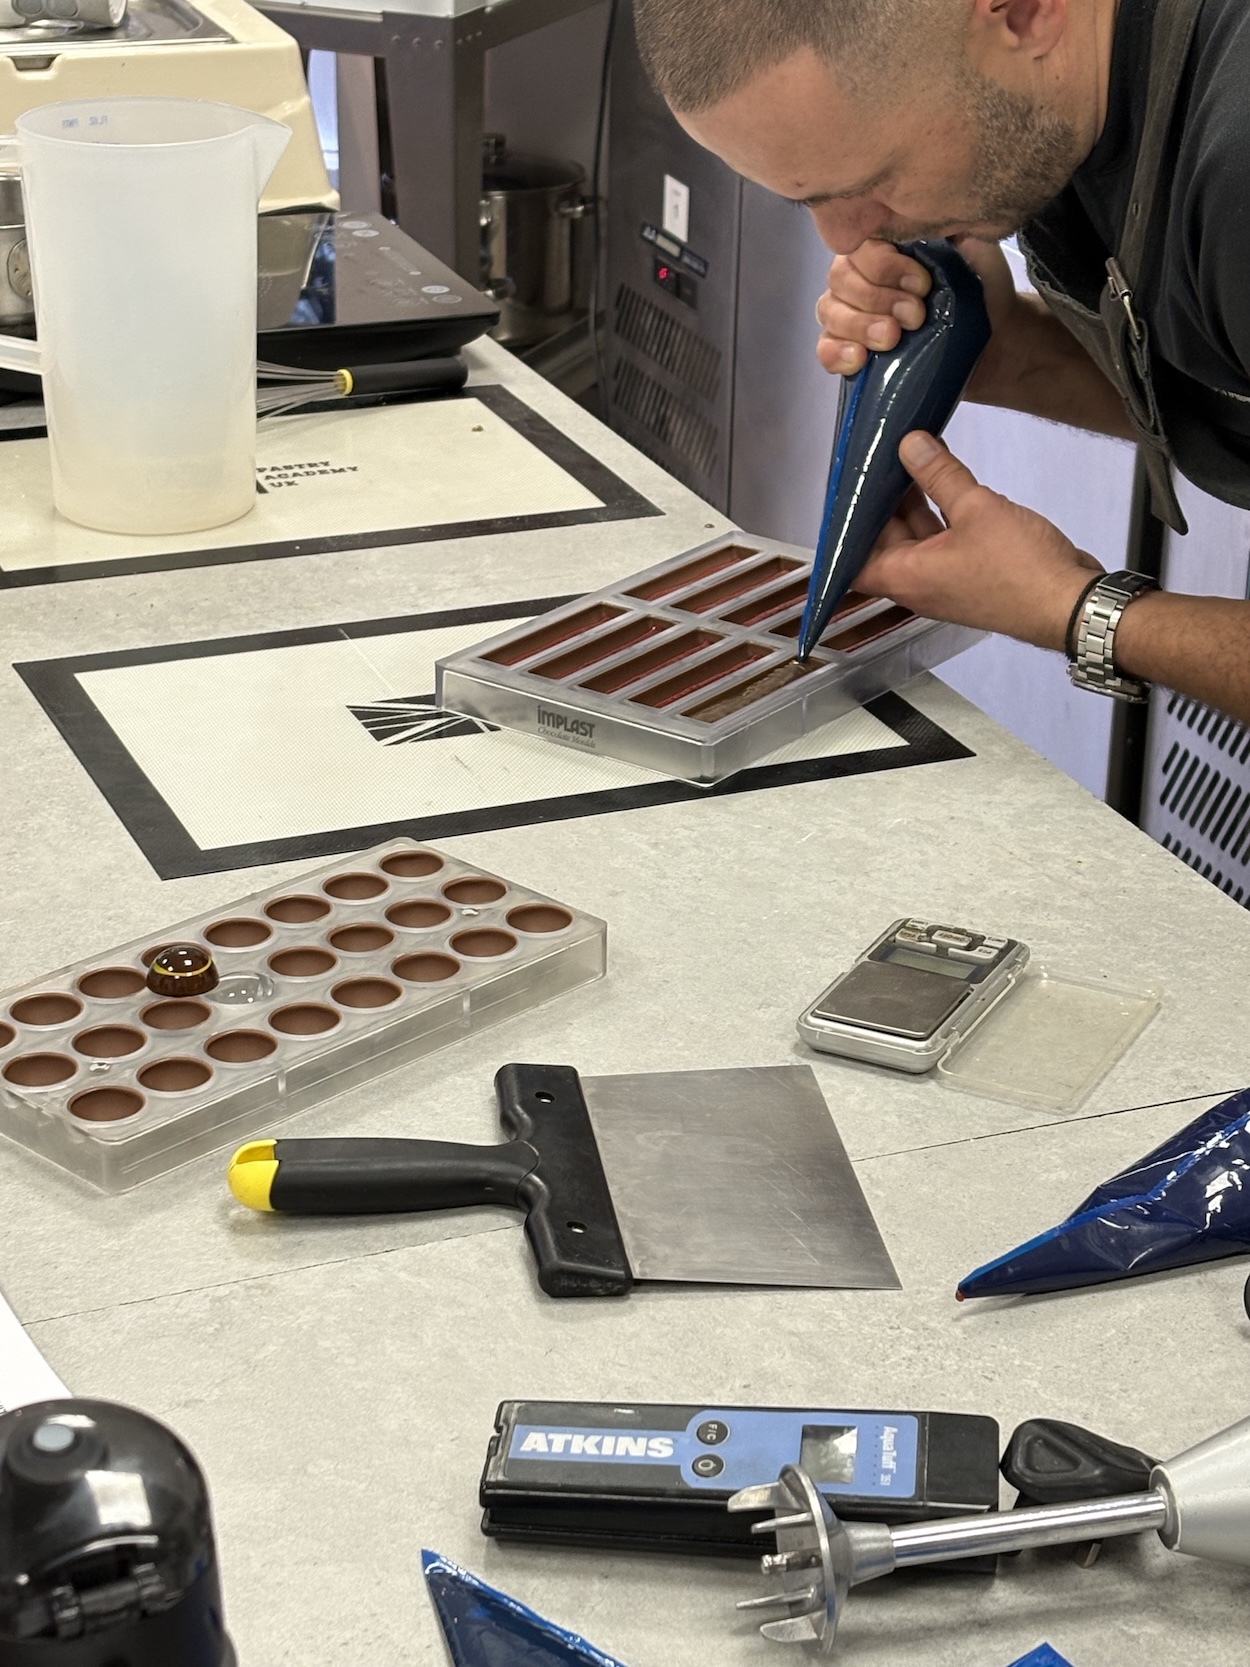
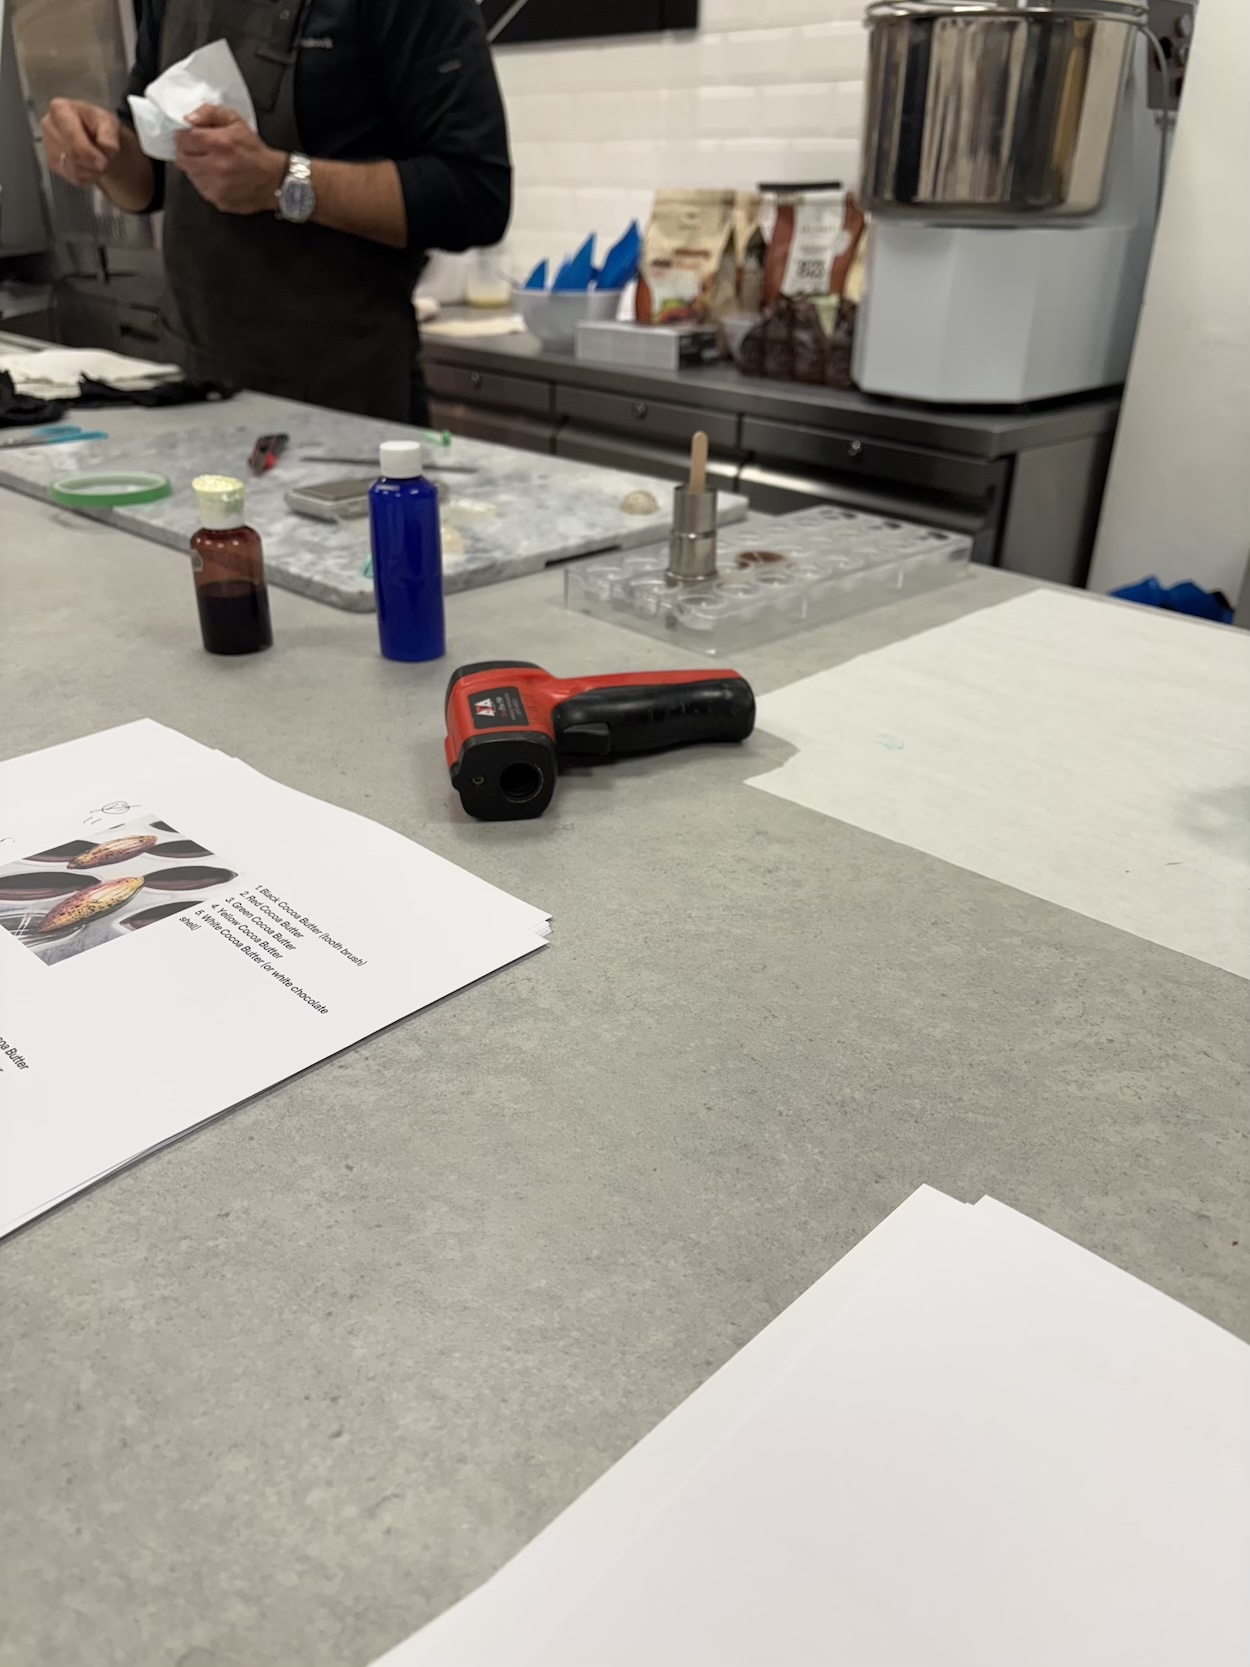
The basic steps of making a chocolate bon bon is to first temper your cocoa butter. The designs on a chocolate bon bon are usually made with a colored cocoa butter that is either sprayed on using an air gun or dabbed on with a sponge. We did both options today as well as some other fancy techniques. After the cocoa butter is set you can either add a white background to fight the transparency of the colors or use a heated chocolate stamp to take away some of the cocoa butter to add a pattern. Andrey was the first person to start producing his own silicon stamps which he showed us how to do at home.
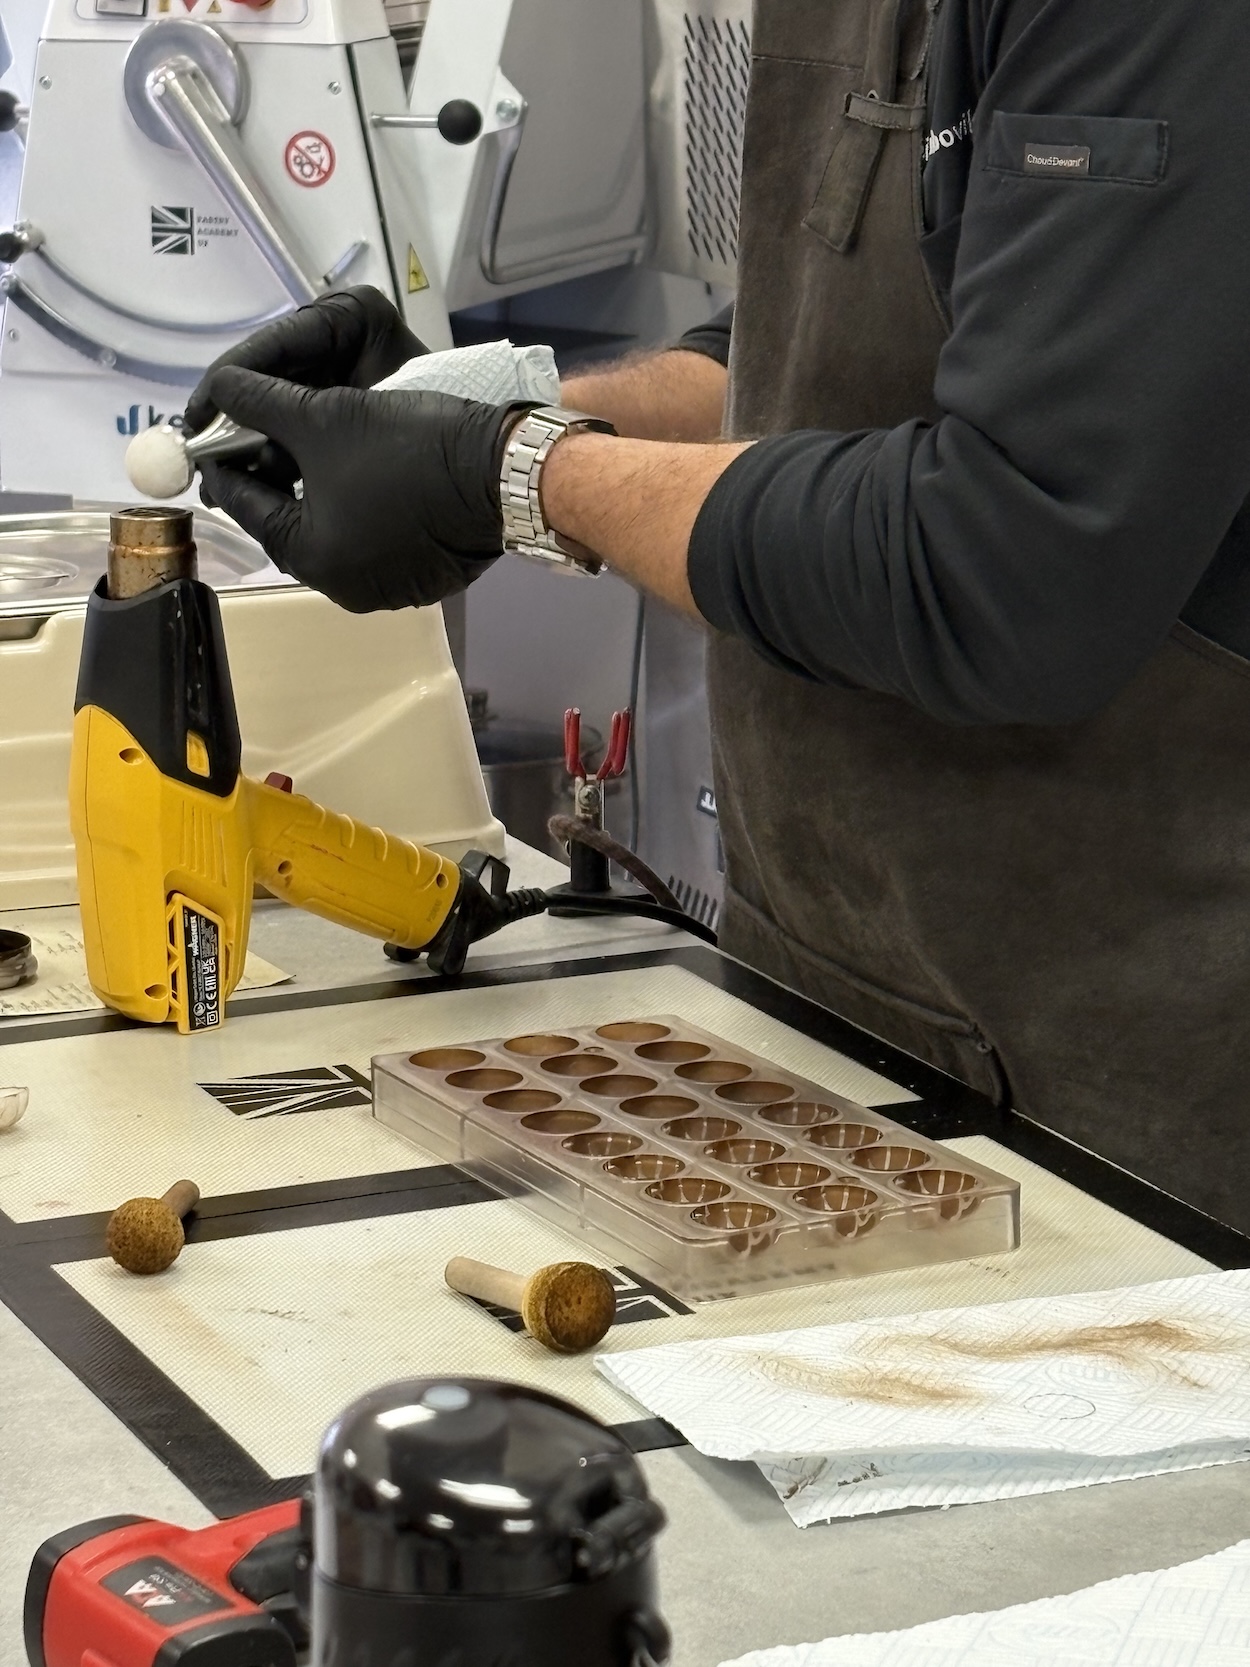
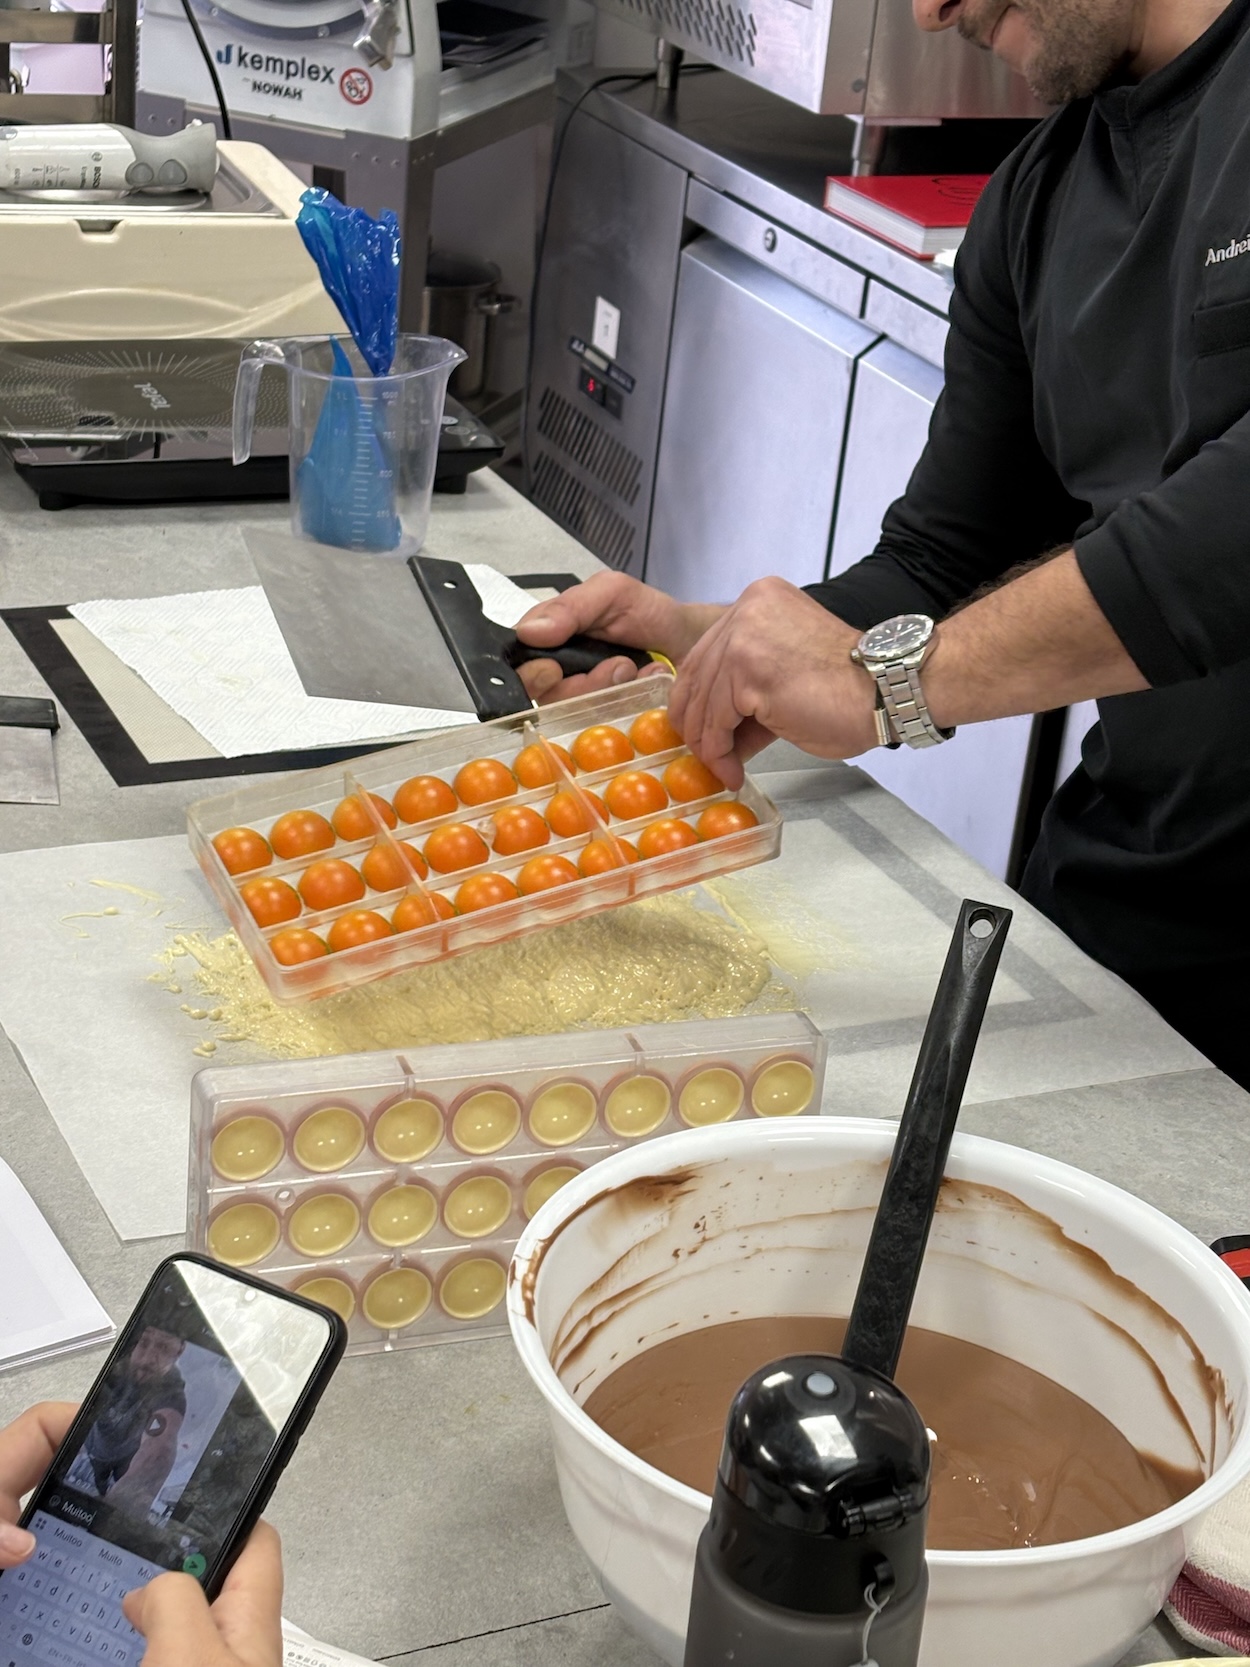
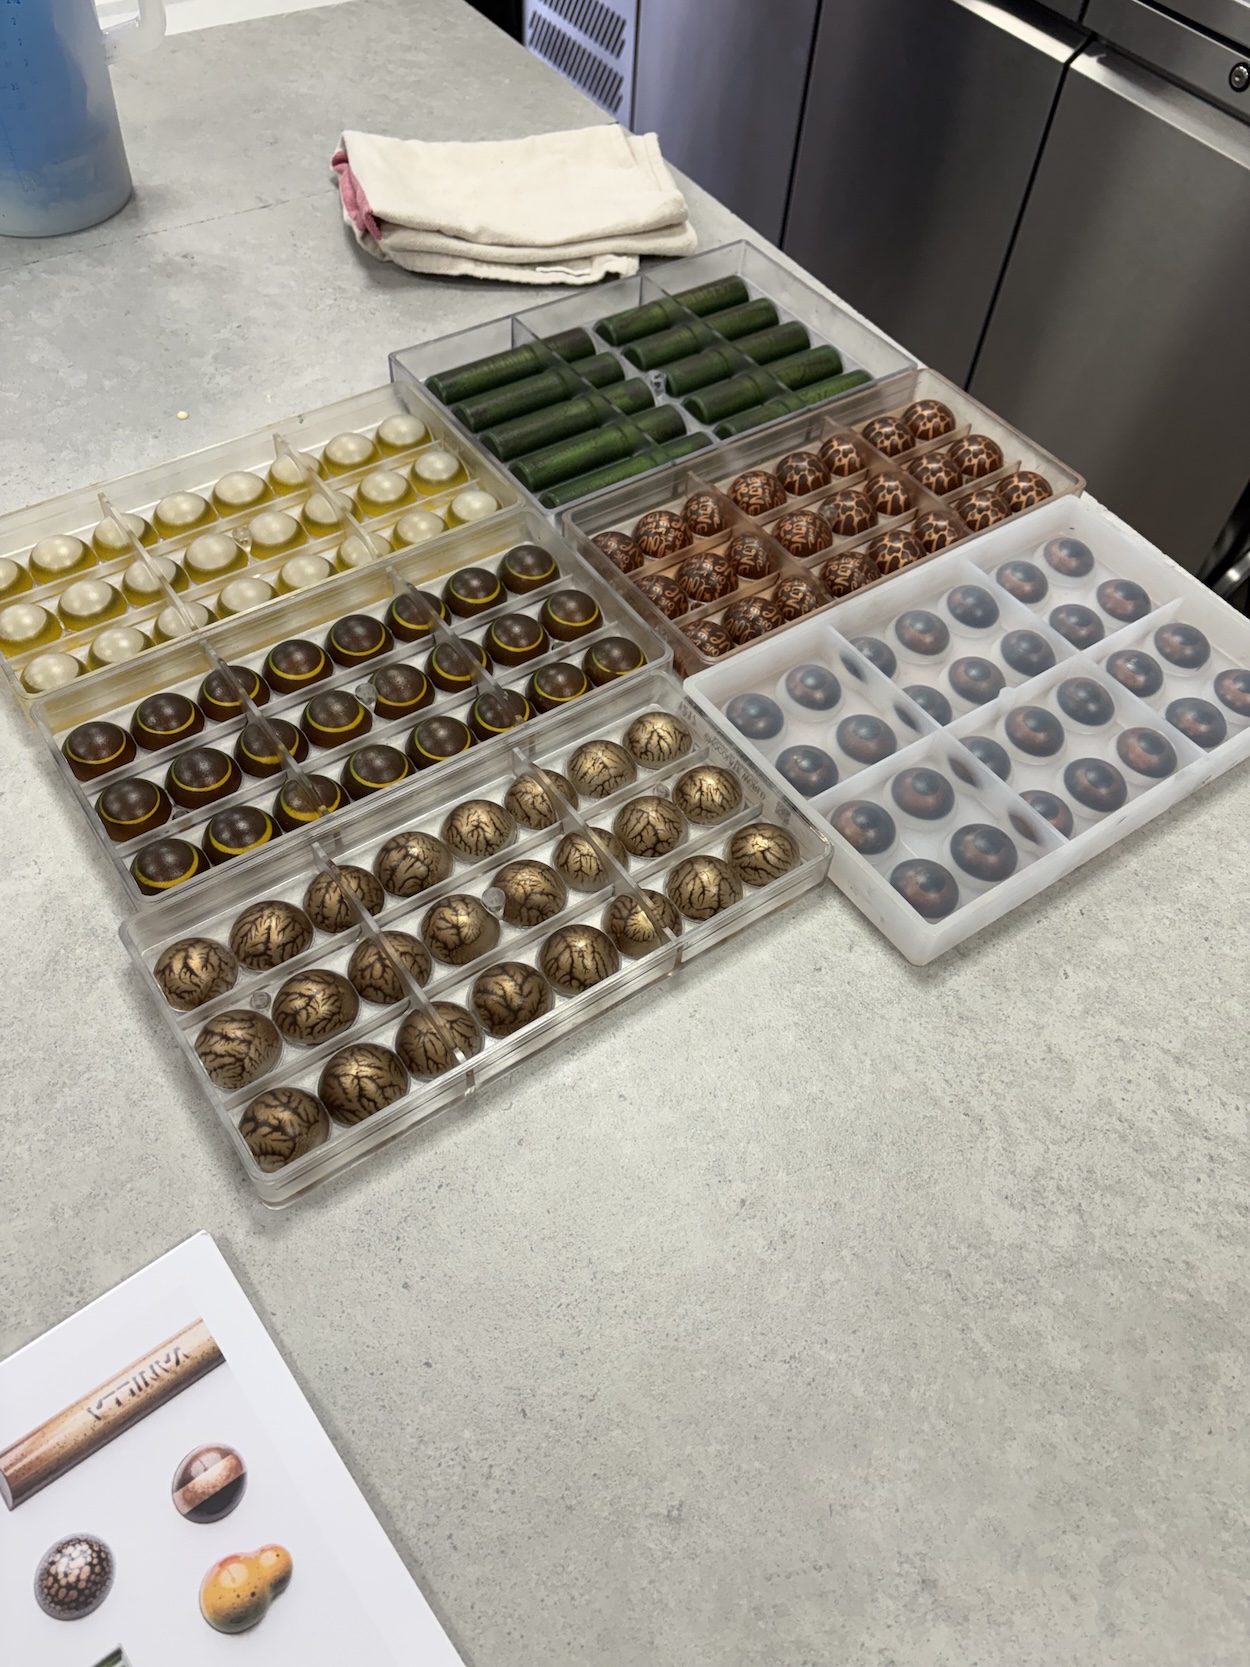
After the design is set you then temper your chocolate to create the shell. Once you fill the mold with the chocolate, it gets flipped over and all the excess chocolate gets tapped out. This then needs to set before filling. We made 4 different flavors today, coconut lime, strawberry pistachio, hazelnut cognac, and earl grey chocolate. Mostly we used milk chocolate to make the shells except for two we used white chocolate.
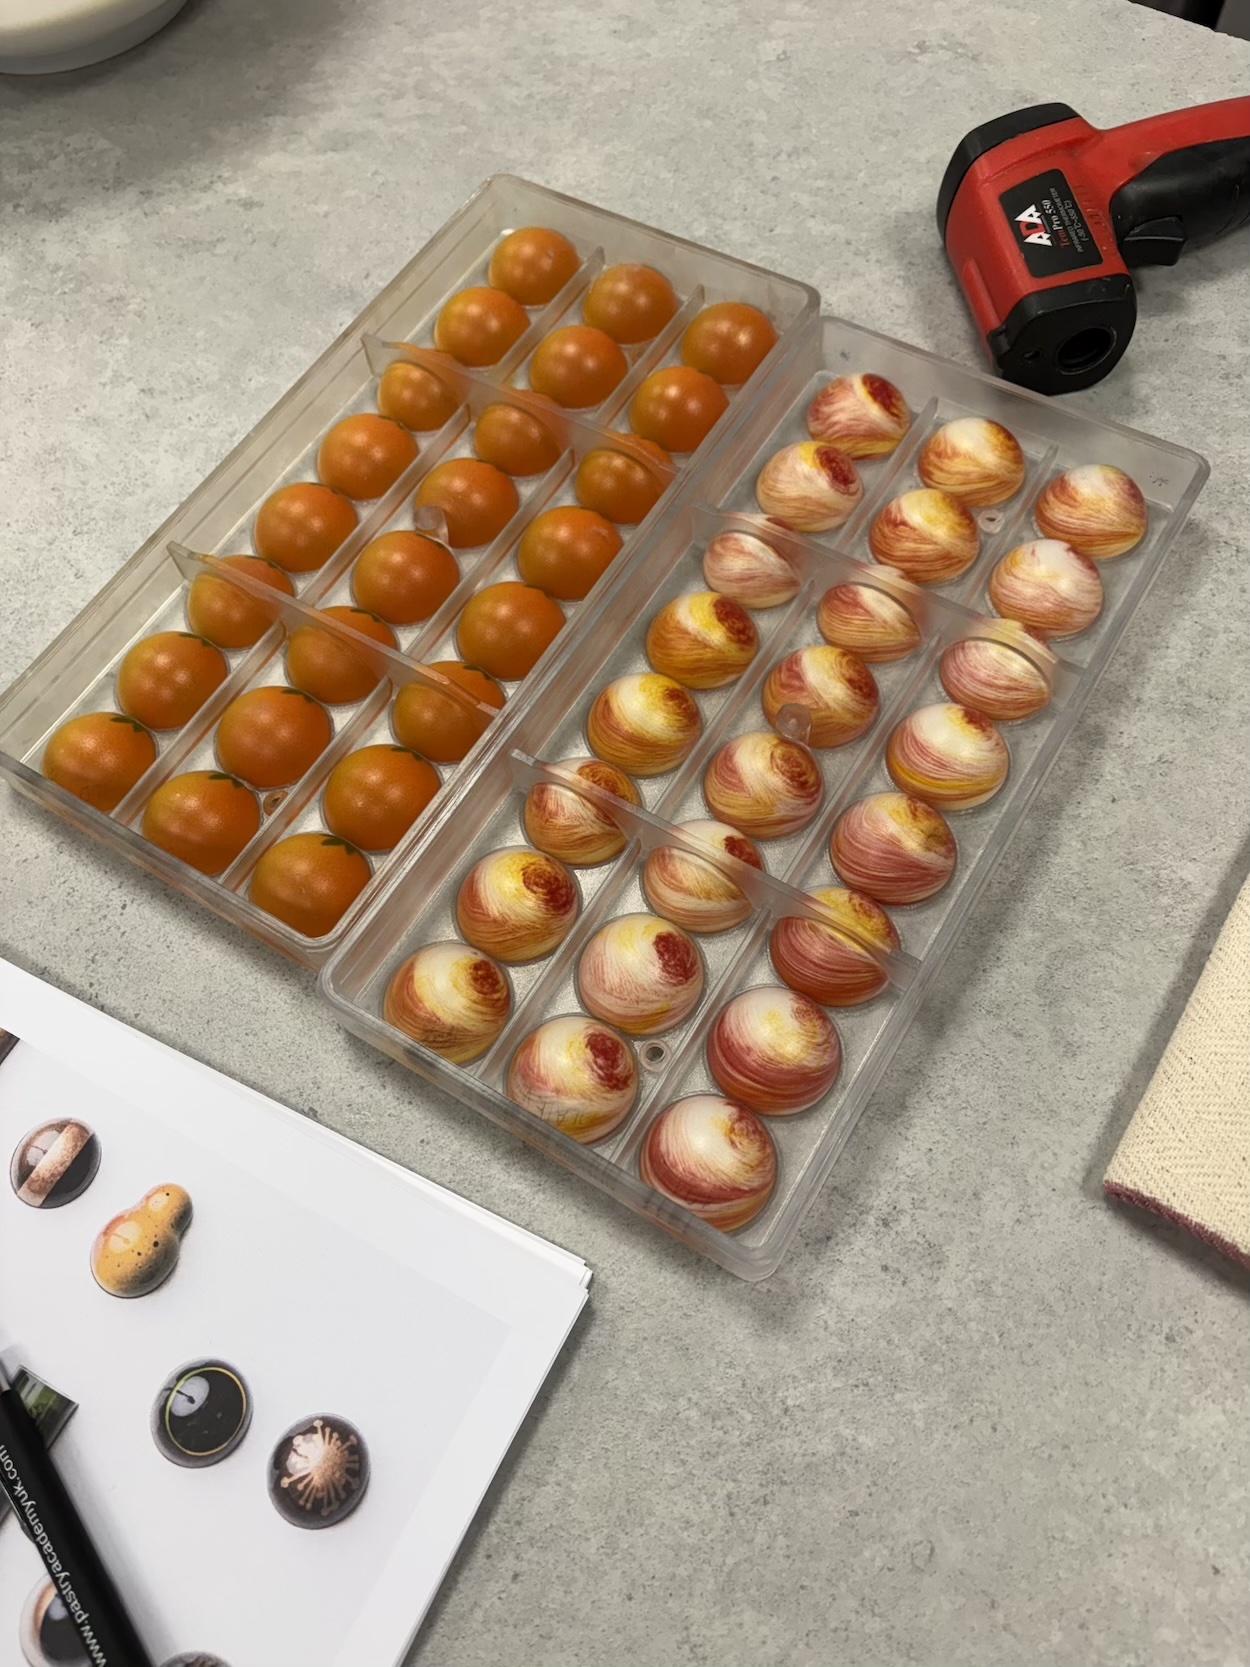
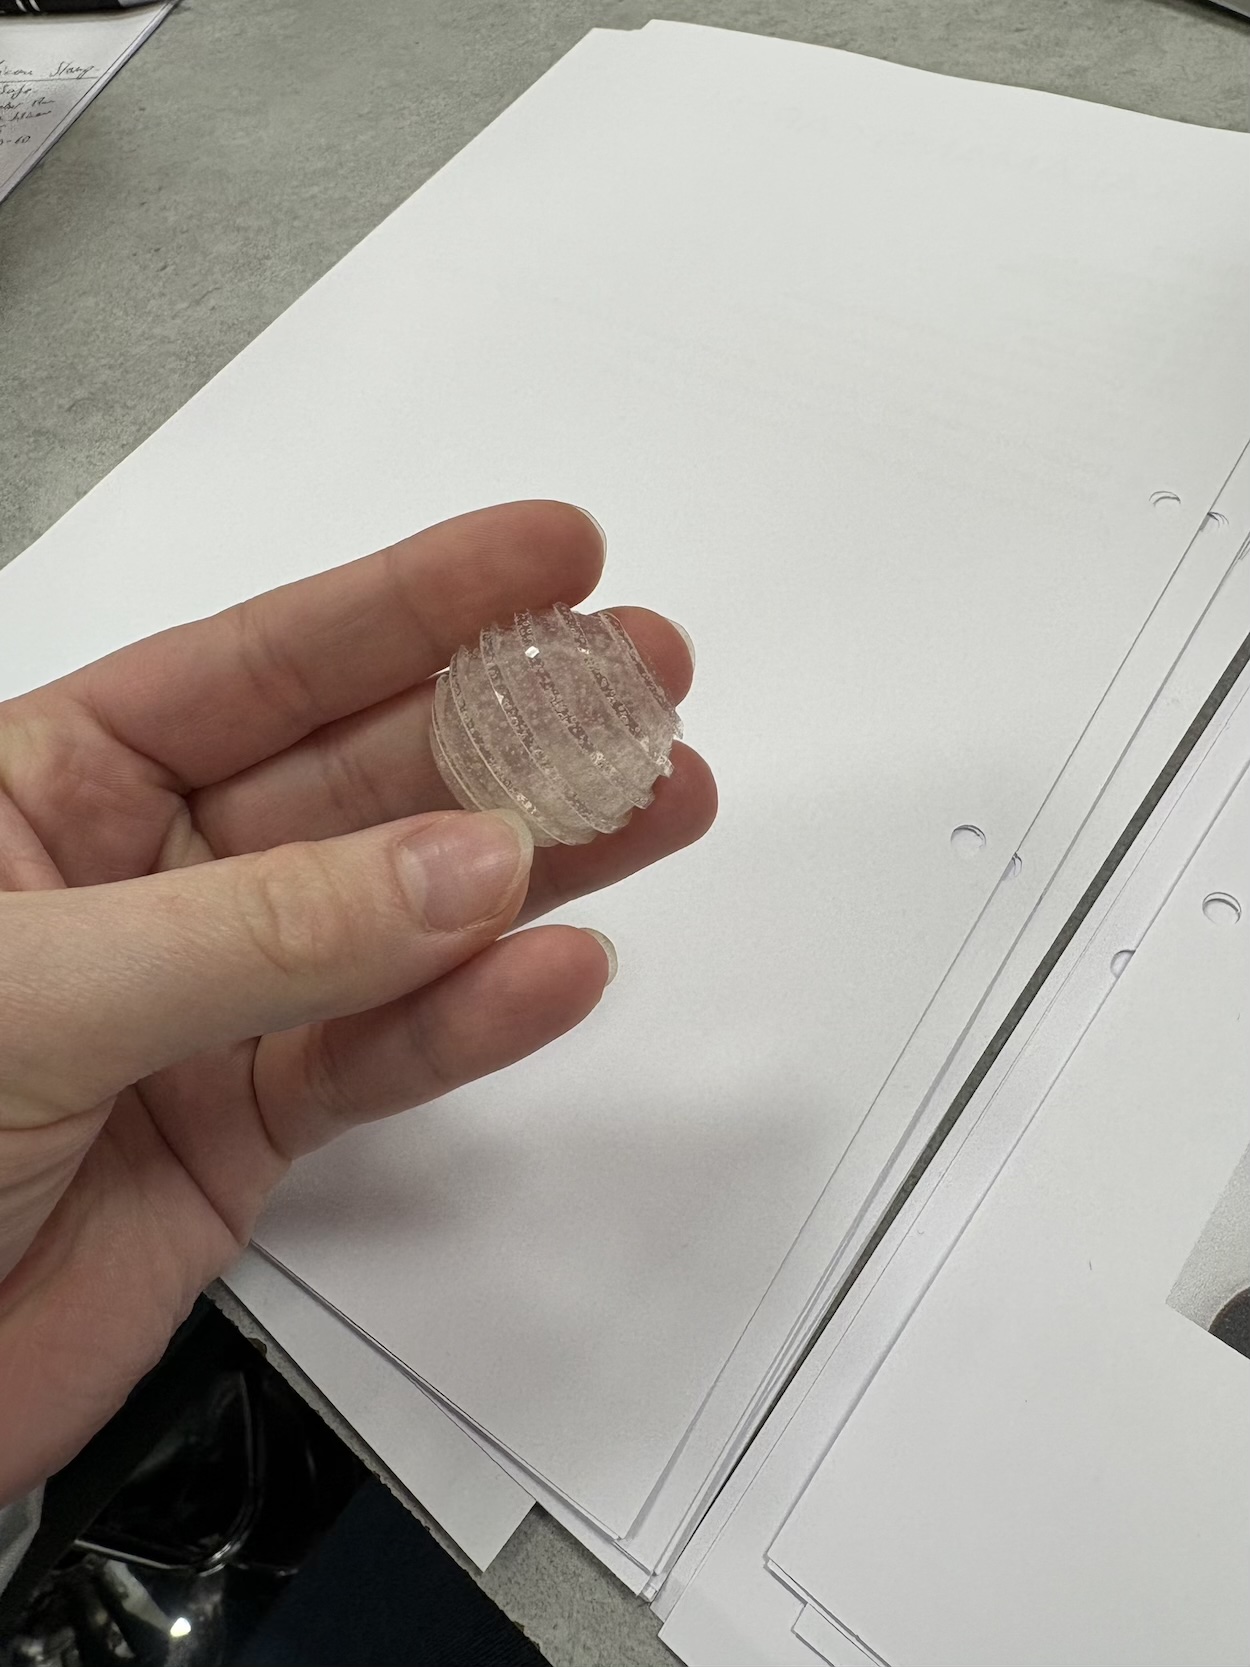
Andrey was able to test the chocolate shells by pulling one out before filling as seen in the left picture above. The swirl design was made by moving a small circular sponge in the chocolate mold with different colors. When using multiple colored cocoa butters you should go in order dark to light to keep the colors vibrant and to not muddle them. Once filled we left all the chocolates in their molds in a wine fridge. You shouldn’t store the chocolates in a normal fridge as their is too much condensation.
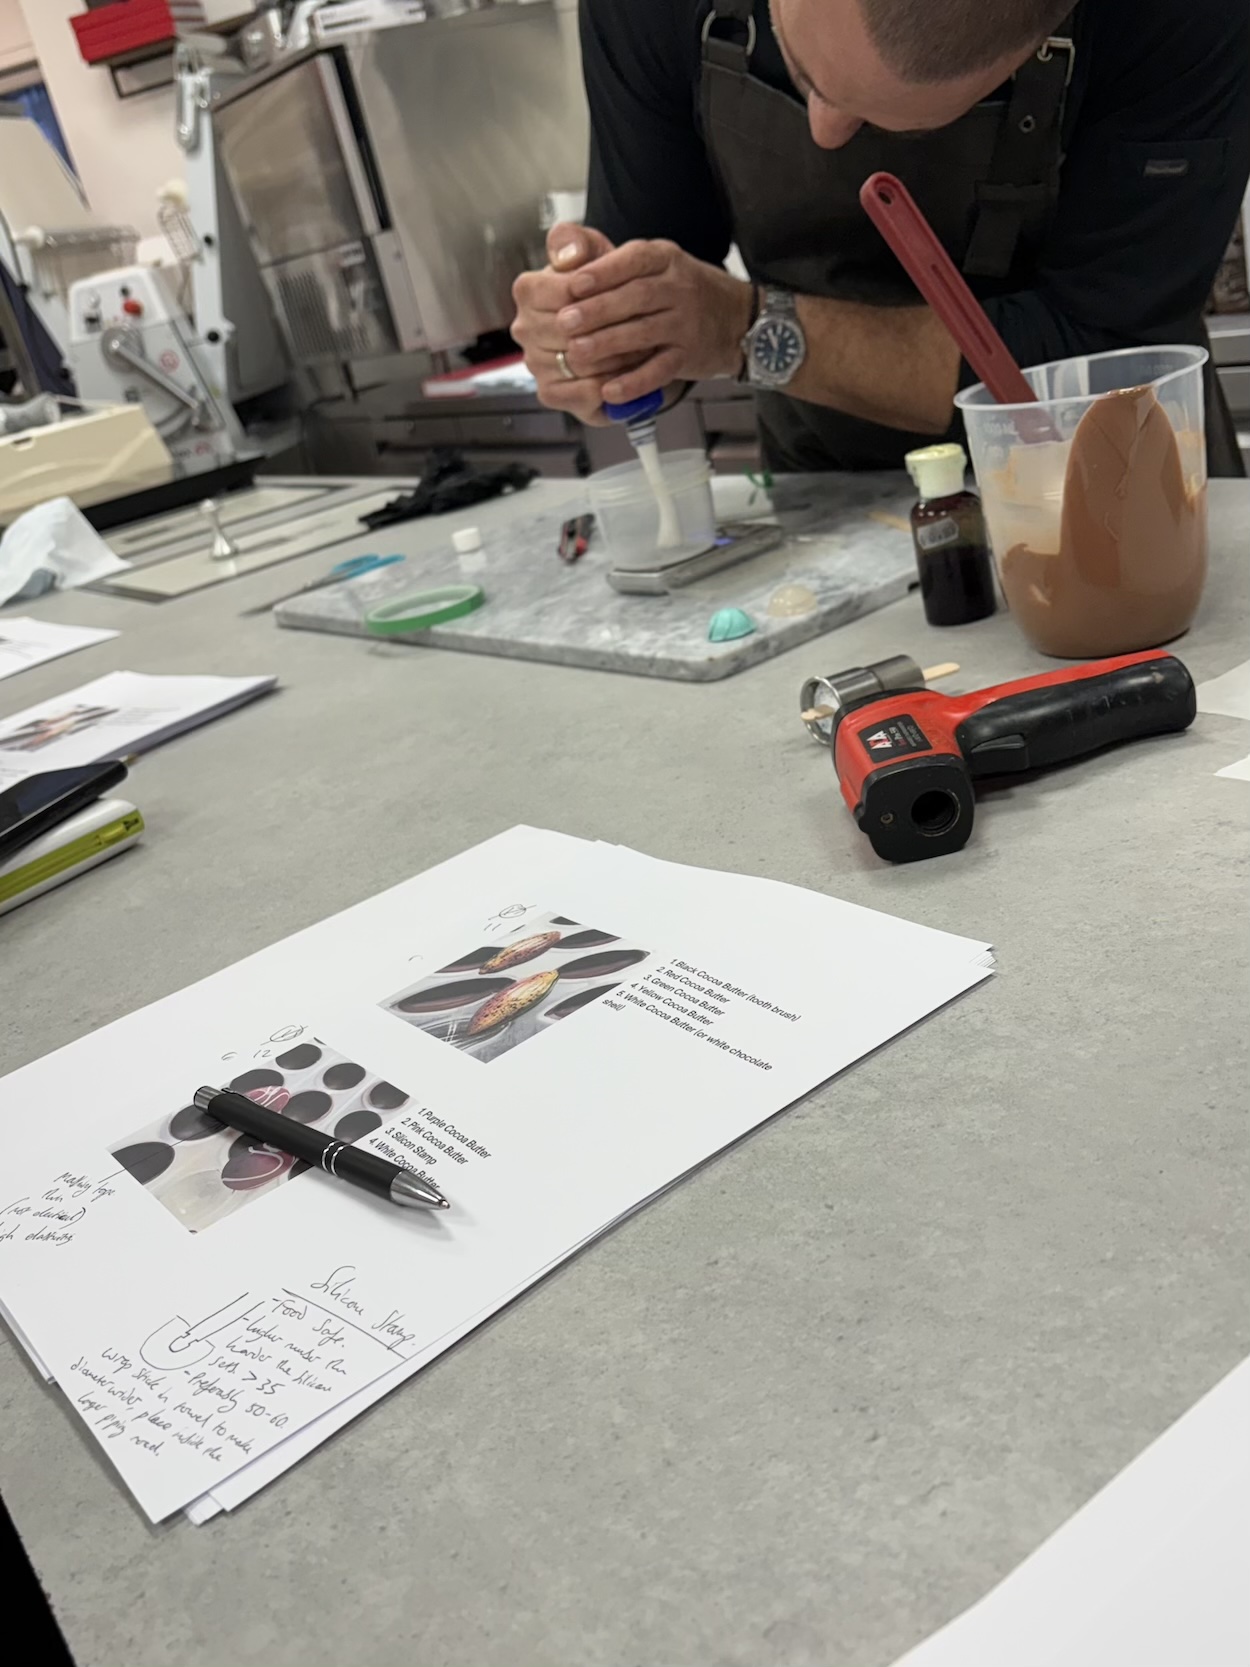
Finally we finished class going over the chocolate stamps. This was really cool as Andrey showed us how to make chocolate stamps at home using a 2 part silicon mixture and a popsicle stick. We started with tape in the mold to create a design then used tempered chocolate to raise the design. Then we peeled the tape back and added in the silicon mixture and popsicle stick. Tomorrow we will be able to take it out of the mold and have a custom stamp to use for one of the other bonbons.

Hopefully you had a wonderful weekend and are excited to follow along to see how these chocolate bonbons turn out!
Oh my Lord those look beautiful!
Great explanations on each step. The shells are beautiful.
Looks like a lot of fun. Glad to see they are teaching you many different skills! Maybe Michael can make some custom molds for you in the future if you decide to start something in chocolate. It reminds me of the chocolatier I visited in France, she made pyramid molds…